Tara Sutherland

Photo Taker | Dog Mom | Digital Consultant | Guards a stash of Maltesers

Tag: Pet Photographer

  • Pet Photography Project 52: 4 – The Zone System

    Pet Photography Project 52: 4 – The Zone System

    For 2016, the Pet Photography Project 52 are working through David Duchemin’s book ‘The Visual Toolbox’. Our lesson, and theme for this week is ‘Exposure: The Zone System’.

    Ansel Adams is known for many things, one of his most important contributions was an exposure model known as the Zone System.
    For this week, print out the Zone System scale.  Get a gray card if you don’t already have one; if you can’t get one in time, try to get an idea of what is 18-20% gray. Use spot metering in your camera. Take your pictures this week using the Zone System scale by metering off different elements and making adjustments. For example, meter off something gray and not the exposure. Then meter off something white but still with details and then add two or three stops. Consult your Zone System scale to determine how many stops your metered area is from Zone V (middle gray)? The idea is to understand how your camera reads light and how to make the best exposures using it.

    There is not a lot of grey around Hamilton in the Waikato region of New Zealand at the moment – because it is the middle of summer and we are having a very tropical one! Everything is either green or brown.  So I took Nixie Lix to The Narrows – partly for location scouting reasons and partly because I knew there would be a great mix of lights and darks and that nature would effectively create its own Zone System that I could work with.

    Nixie Lix - Pet Photography at The Narrows

    Nixie Lix - Pet Photography at The Narrows

    Metering off Nixie Lix’s dark coat. I needed to underexpose by a stop for the reflections on the water.

    Once I was happy with the results on the darker and more shaded side of the jetty, I turned around to work on the lighter side – and thus the other end of the Zone System.  It was much easier with more light and a lower ISO!

    Nixie Lix - Pet Photography at The Narrows

    Nixie Lix - Pet Photography at The Narrows

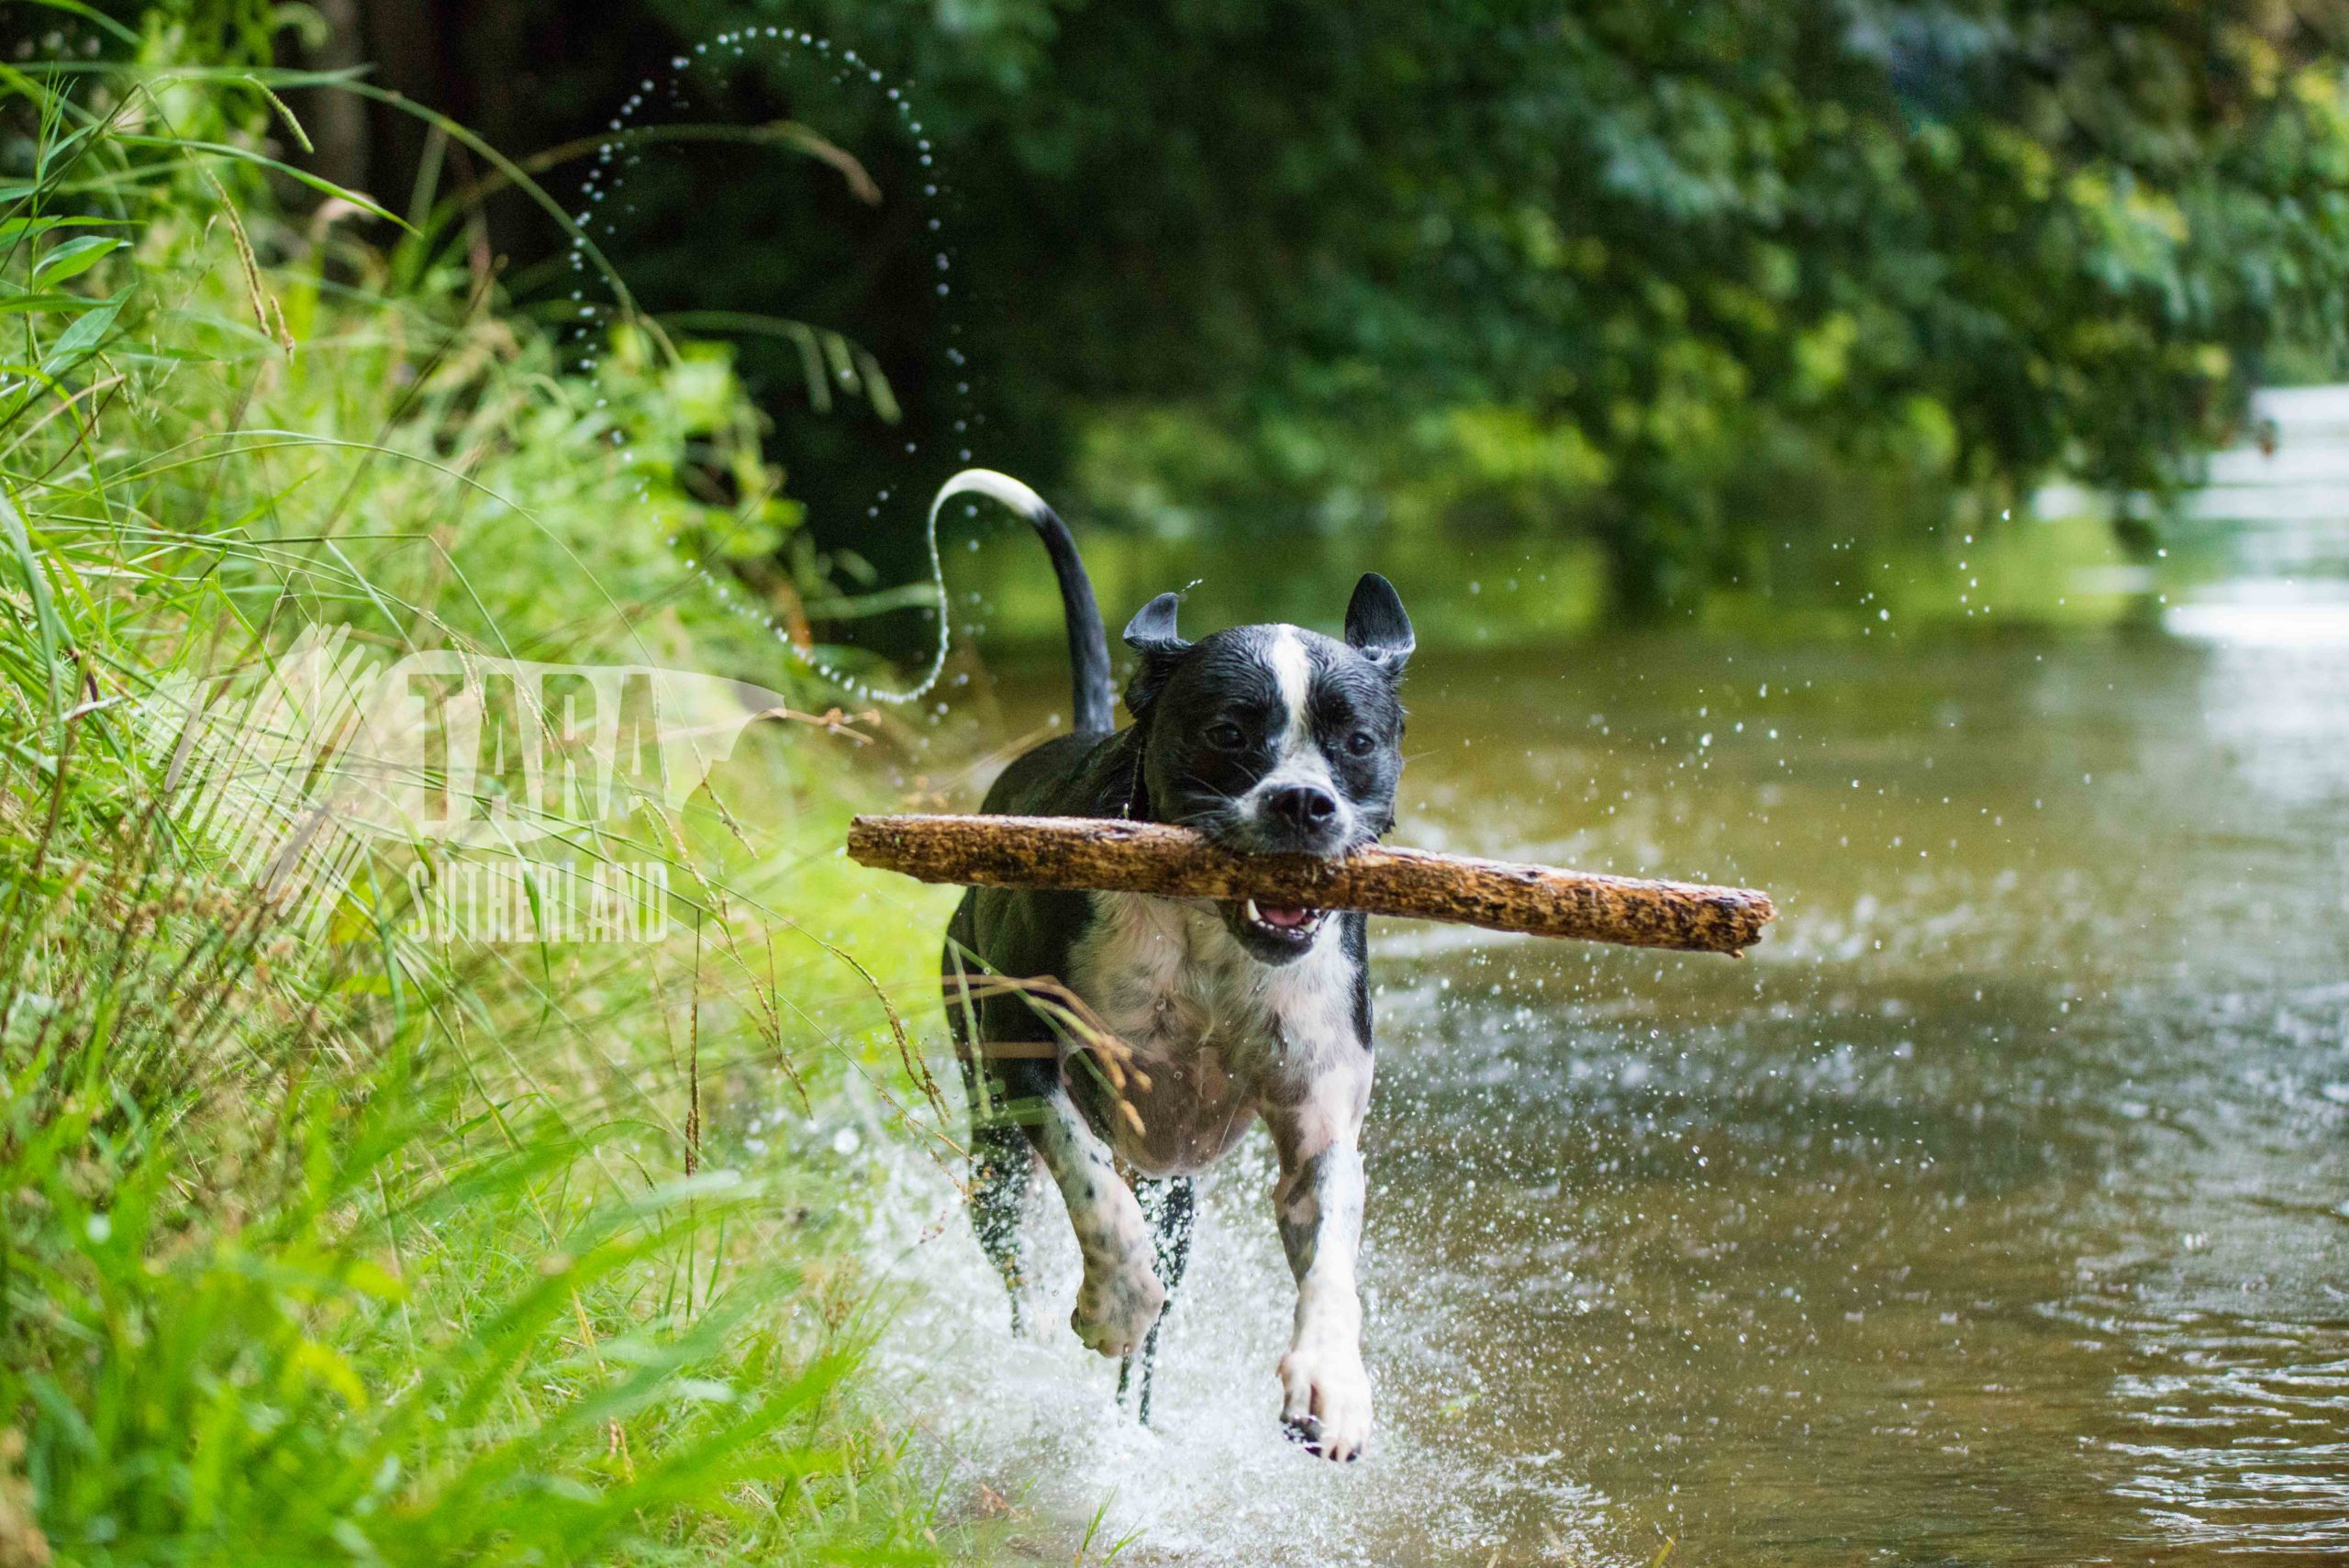
    Nix was even faster on this side of the river as it was shallower so I metered off her chest and decreased my ISO to decrease my exposure by at least two stops.  Not easy when a part greyhound is screaming towards you and your camera wet, carrying a big stick!

    I guess throwing water and a dog that loves to run made this assignment even harder – but it was a gorgeous location and one I will be adding to my list.  Later, for fun, we went around the corner and made some lovely portraits with Carol’s portable lighting system.  Well, lovely when she wasn’t looking back to her swimming location! Cheeky minx.

    Nixie Lix - Pet Photography at The Narrows

    Project 52 is a weekly circle project so from here, use the following link to hop over and visit Trina Bauer Photography, State College, PA to see what they have created, and then keep visiting the other blogs until you end up back here.

    Happy Friday y’all X
  • Pet Photography Project 52: 3 – Ask Better Questions

    Pet Photography Project 52: 3 – Ask Better Questions

    For 2016, the Pet Photography Project 52 are working through David Duchemin’s book ‘The Visual Toolbox’. Our lesson, and theme for this week is ‘Ask Better Questions’.

    “Beginners are full of questions. If we’re wise, we never lose that sense of always being a beginner with a willingness to ask questions.”
    Look beyond the basics and the technical (like “what lens did you use?” or “what were your settings?”) to consider more deeply things like “What am I trying to express?” or “What will my choice of settings change about the image?” or “What role does color play?” “What is the light doing?” Duchemin includes a list of questions that require more thought and consideration, but ask your own questions in regards to what you are trying to convey through your work and the settings and tools you use to complete that work.
    For this week, take a look at the images you used in Week 2 and consider some deeper questions about them. For instance, what are the elements of the image that you like and why or what did you do with your settings or other equipment (flash/strobe, modifiers, etc.) that allowed you to get the look you wanted. There are no right or wrong answers. Consider the why and not the what, as you can learn more from the whys. This lesson is for us to get the “whys” included in our thought process. So, revisit the photos from Week 2 and ask the whys.
    Take at least one new image for Week 3 by asking better questions that provide more depth and meaning to the why of what you do.

    When I read the title of this weeks theme/lesson, it wasn’t camera equipment and settings that I first thought about. I completed the first part of the lesson, I looked back over last weeks photographs and it is the first suggested question that is actually the most important to me – “What am I trying to express?”

    I do realise that the point of going through Duchemin’s book is to start with the technical aspects of photography.  I just like to mix it up at the same time and these early chapters lend themselves nicely to analysing the whole package.
    Whilst I still cannot describe my style, and don’t believe I have one that is easily recognisable (yet), I know that it will come with time.  What is more important to me is how I approach the time I get to spend with pets and their owners.  And how their relationship and personalities are captured in an environment that is special to them.
    The questions I feel I should be asking are detailed in my Client Consultation form and continue throughout our session.  I love a jolly good run around to start off with and this allows me to talk to the people that belong to the pet.

    So with all of this in mind, last night I headed out to the farm to hang out with my friend Kelly and her team of working dogs.
    When I arrived, Kelly and Meg and Flirt and Flight and Patch and Teddy and Flick were roaming around in the front paddock having a great time.  I was greeted by waggy tails and panting tongues and none of them were surprised to see my camera bag.  We hung out in the front paddock a little longer and I learned some more about the dogs.

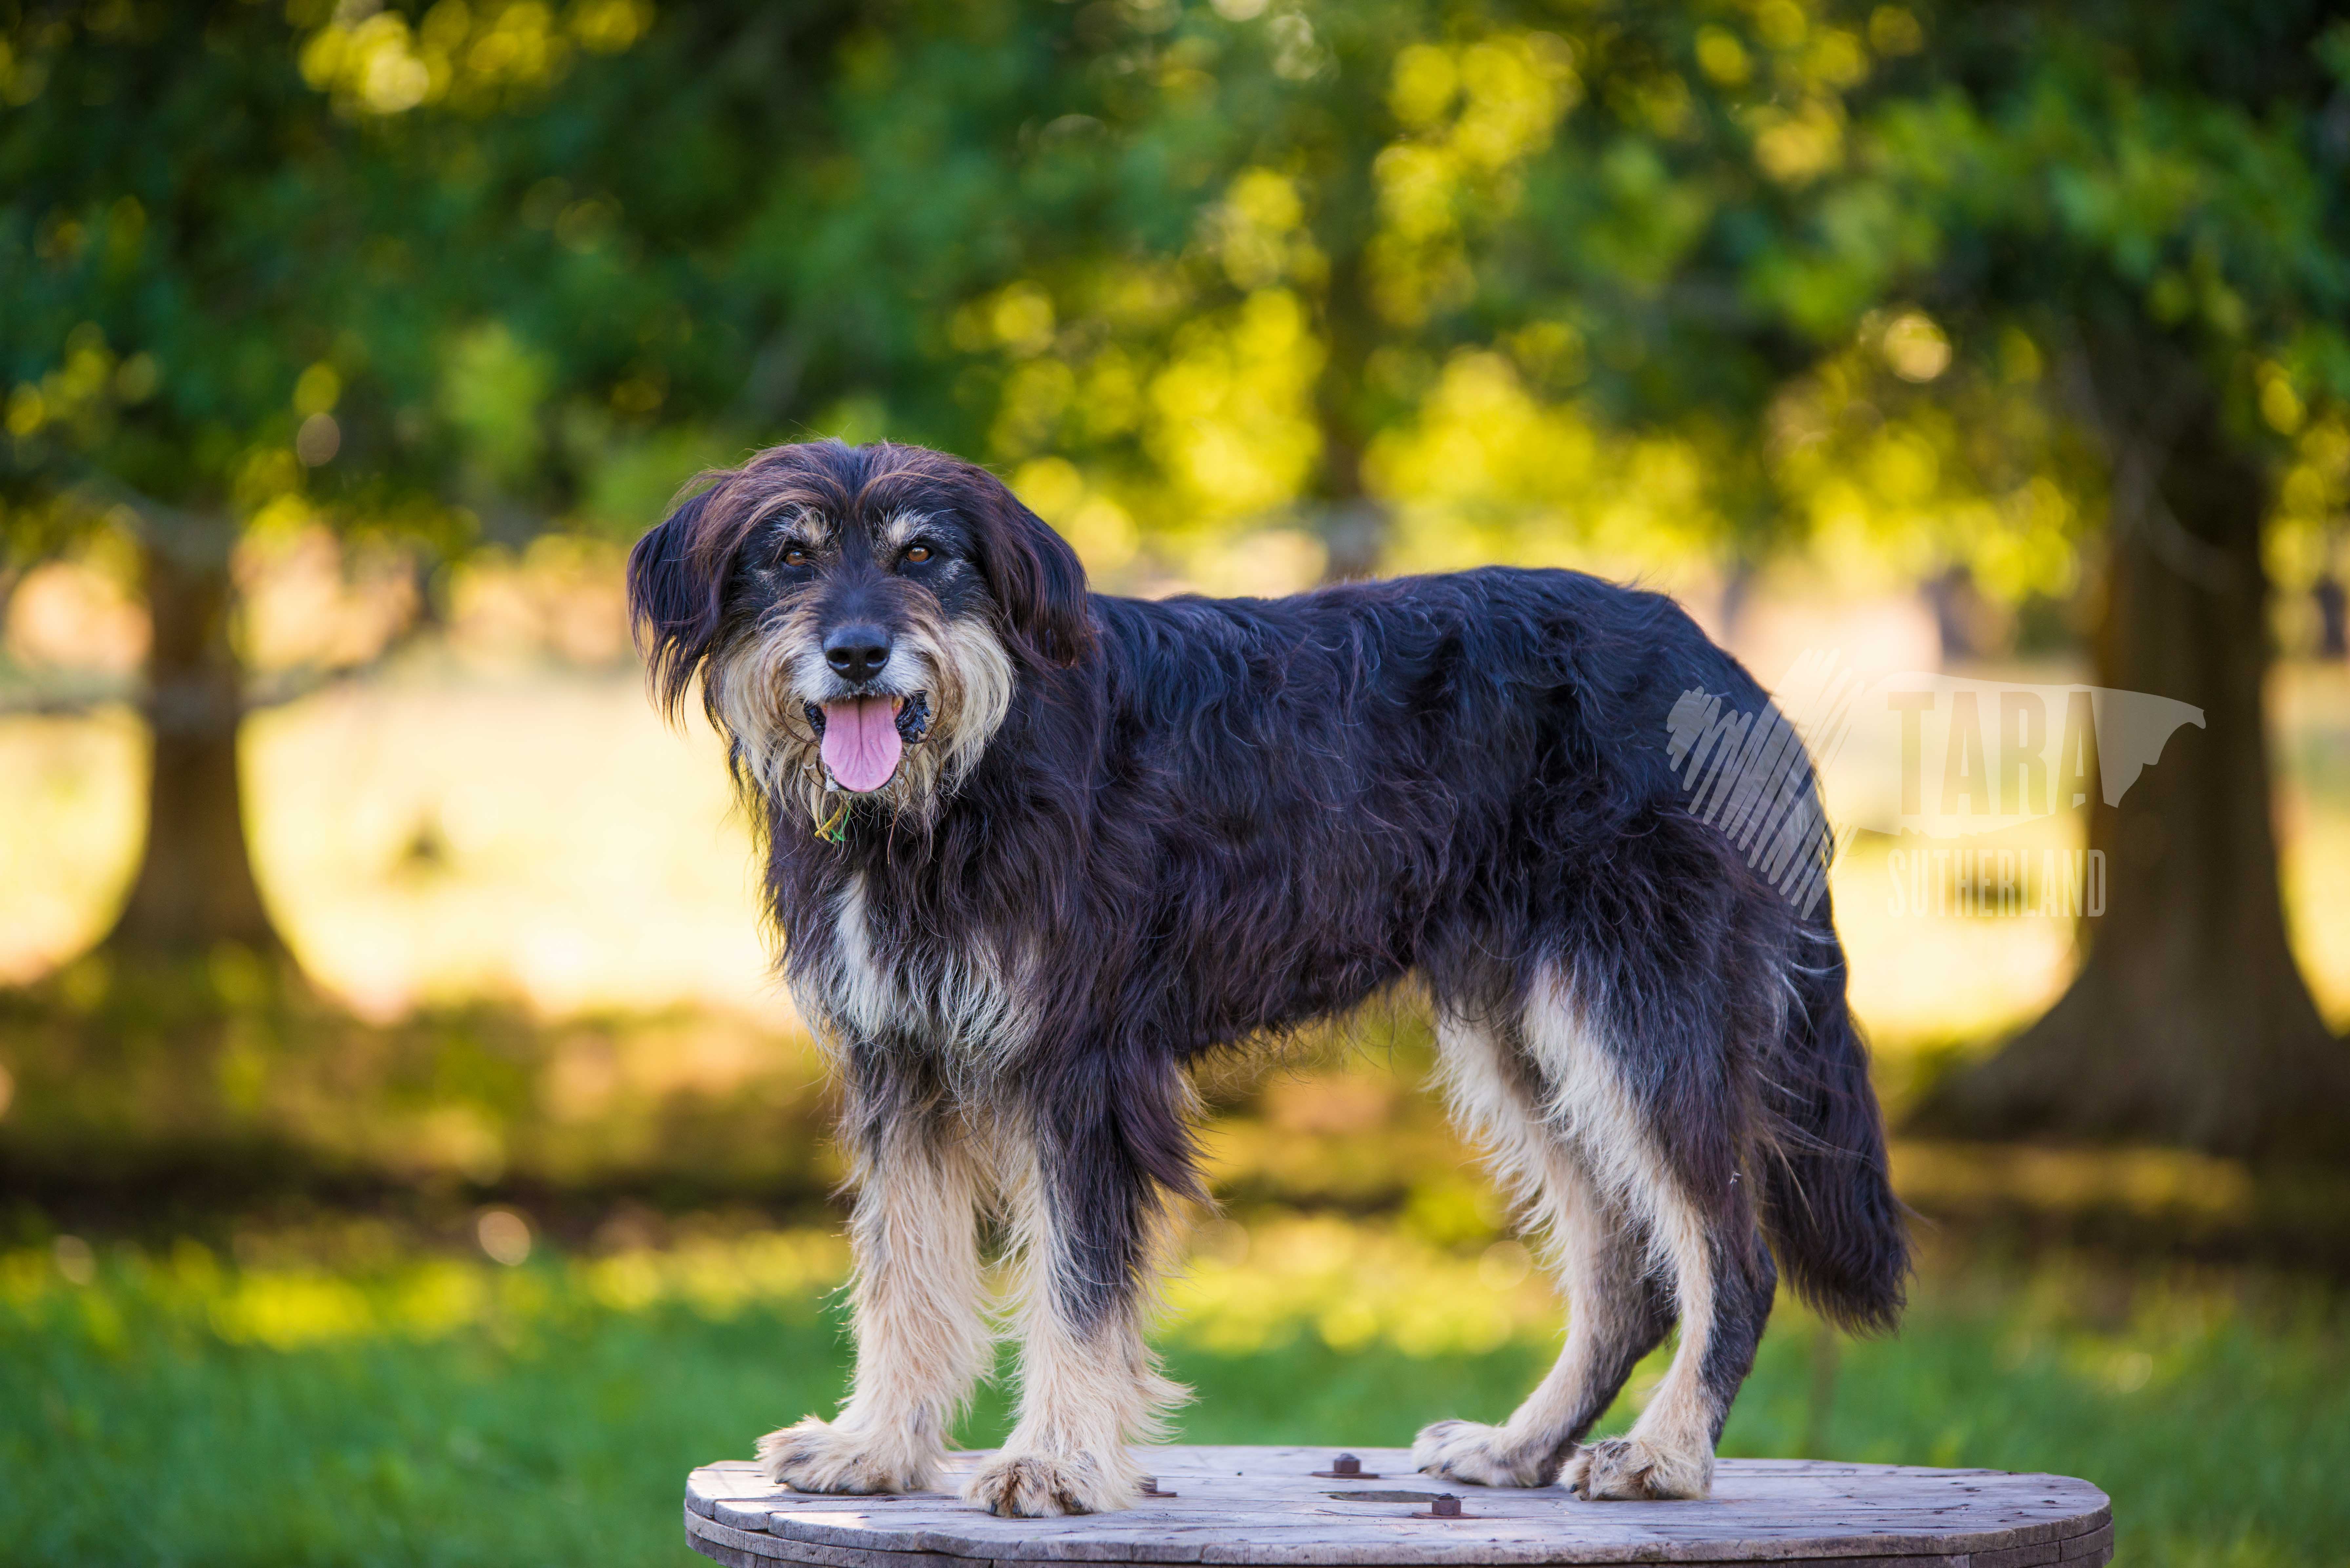
    And they posed for me.

    tarasutherland- teddythebeardie-8139

    Patch the Working Dog

    Don’t get me wrong, I love these photographs.  The colour, the faces, the pretty bokeh.  But to me they are missing something.  They are missing an insight in to who these animals are.  So we walked, and we talked and they ran.  And we sat in a paddock and watched them dig and run zoomies after belly rubs and I heard more about what they are like as a working team, who is top dog and who gets told off for being a bit of a doofus.  Can you guess?

    Teddy the Working Dog

    This is it.  This photograph. Teddy is the doofus. He is a complete personal space invader.  Flirt and Flight like to dig together and he tries to get a little involved but sometimes he gets told to bugger off.  At this moment I made some ridiculous bull noise and Teddy popped out.  This is what I want to create – spontaneous, documentary photographs with heart.  It was a great night.

    Project 52 is a weekly circle project so from here, use the following link to hop over and visit Carol Locey Photography serving Greater Cincinnati, OH to see what they have created, and then keep visiting the other blogs until you end up back here.

    Happy Friday y’all X

  • Max and Sonia | Auckland Pet Photography

    Max and Sonia | Auckland Pet Photography

    Every year I set aside part of my budget for Rescue Organisations.  I donate 2-3 Pet Photography Session vouchers for them to use in auctions to raise money for the items that they need to keep the rescue going or to pay for treatment that some of the animals might need.

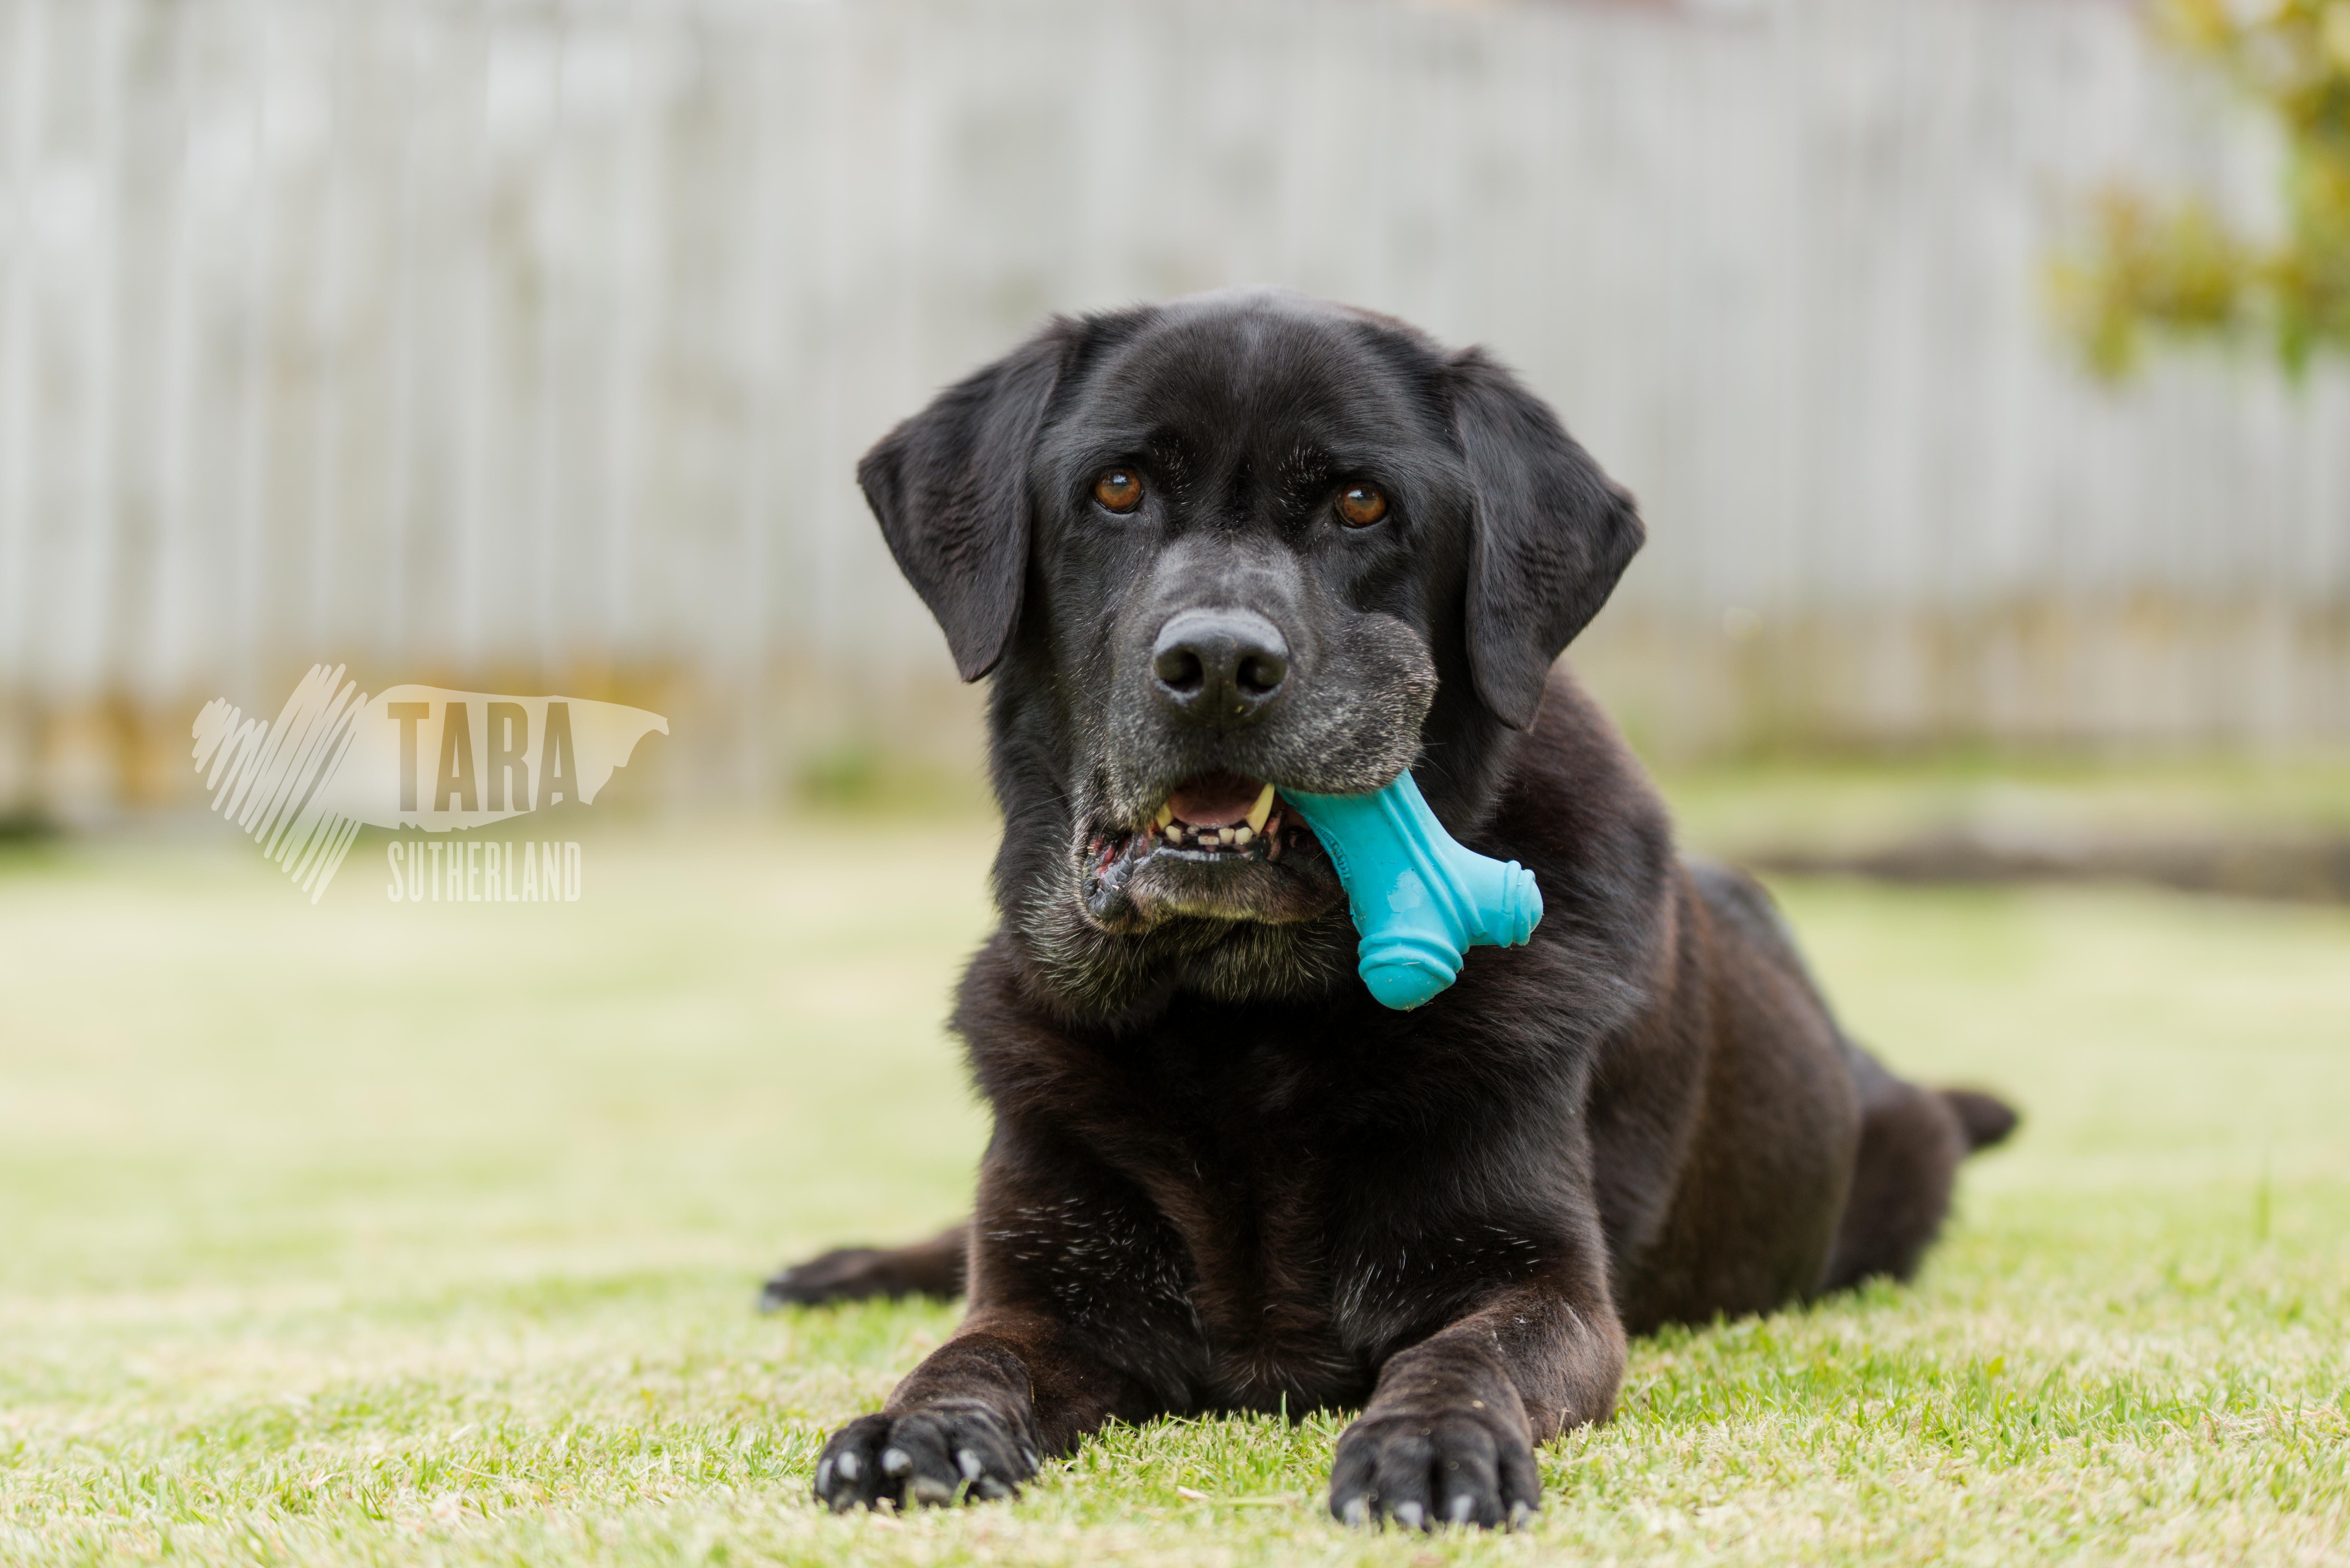
    Sonya outbid the other supporters for the Chained Dog Awareness voucher and I had the pleasure of spending some time with her and her black labrador Max at their home in Auckland.
    Isn’t Max’s greying muzzle absolutely stunning?

    tarasutherland-maxandsonia-6375
    tarasutherland-maxandsonia-6407
    tarasutherland-maxandsonia-6437
    tarasutherland-maxandsonia-6520
    tarasutherland-maxandsonia-6562

    Sonia really wanted some photographs that showed his gorgeous colours and his cheeky personality.  I love the images that we’ve made and I’m especially pleased that we were able to raise some money whilst we did it.

  • Pet Photography Project 52: 1 – New

    Pet Photography Project 52: 1 – New

    My 2016 kicked off wonderfully, wonderfully wriggly and fluffy and super super cute.

    Me and my [Pet] Posse Kelly Wolfe and Carol Howell went down to Haulton Border Collies in Cambridge to photograph their latest litter. These little pups are only 5 weeks old.  I think Ember and Troy definitely count as new – don’t you?

    tarasutherland-haultonbordercollies-7704

    tarasutherland-haultonbordercollies-7654

    Project 52 is a weekly circle project so from here, use the following link to hop over and visit ONO Pet Photography (Fairhope, Alabama) to see what they have created, and then keep visiting the other blogs until you end up back here.

    Happy Friday y’all X

  • Louis and Jo | Auckland Pet Photography

    Louis and Jo | Auckland Pet Photography

    Jo received a Pet Photography Session with me as a birthday present (ooh hay FYI: vouchers make great presents – email me if you want one!) however thanks to Auckland’s incredibly unpredictable Four Seasons in One Day, our session had to wait for the right day.

    I headed up to Auckland after frantically checking the weather for days hoping that it would be just right.  I had two shots in mind which needed a little cloud … and NO RAIN!

    I’m super stoked that Jo indulged my ‘just one more walk’ requests – this is my absolutely favourite photograph from the session (and hands down one of my most fav ever!)

    tarasutherland-Louis-and-Jo-9909

    Louis was a total darling to photograph – talk about model material!

    tarasutherland-Louis-and-Jo-9823 tarasutherland-Louis-and-Jo-9954 tarasutherland-Louis-and-Jo-0034 tarasutherland-Louis-and-Jo-0096

  • McKinley & Early | Waikato Pet Photography

    McKinley & Early | Waikato Pet Photography

    We waited the whole winter to complete the second half of McKinley and Early’s Pet Photography session – which was a graduation present for Pip.

    I think the wait was worth it!

    The girls had the opportunity to run around a pretty secluded area and then stop and pose with Pip before boosting off again.

    tarasutherland-petphotography-9158 tarasutherland-petphotography-9246 tarasutherland-petphotography-9024 tarasutherland-petphotography-9010

    The Waikato has some stunning scenery and some pretty out of the way places if you would rather have some more space with your dog.  I’d love to create something special for you and your pet.  Contact me to book your own Pet Photography Session today.

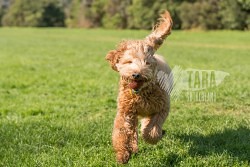
  • Want to see Rocco the Labradoodle fly?

    Want to see Rocco the Labradoodle fly?

    I keep up with Rocco and his adventures on his Mom’s Instagram feed – and I’ve been absolutely dying to meet him for ages!

    One Friday afternoon we met up in Auckland and I got to hang out with this delicious guy and watch his total joy for ball games.  Just wait till you see him fly!

    tarasutherland-roccothelabradoodle-5323 tarasutherland-roccothelabradoodle-5412 tarasutherland-roccothelabradoodle-5413 tarasutherland-roccothelabradoodle-5442 tarasutherland-roccothelabradoodle-5466

    Does your dog have a super duper trick?  I’d love to see it – and I’d love to photograph it!  Contact me to book your own Pet Photography Session today.

  • How To: Taking Photographs of Your Alpaca

    How To: Taking Photographs of Your Alpaca

    The following article appears in the August 2015 Alpaca Association of New Zealand official magazine.

    Alpaca are beautiful and intelligent creatures and they take a gorgeous photograph. Combine that with some of New Zealand’s sublime scenery and you have a recipe for something stunning. Following are a few tips and suggestions that may help you with your photographs whether you are using a smartphone, point and shoot compact camera or a Digital SLR.

    Before we start, I have two things I would like you to do first, don’t laugh at the first one. Number one is read the manual – yup, your camera manual gives you a lot of tips and suggestions for photographing sports, portraits and even animals. The second thing is to keep your equipment clean – give the little lens on your smartphone a wipe with your sunglasses cleaning cloth or pop into your local camera store and invest in a little box of lens cleaners. You will be AMAZED at the difference!tarasutherland-photographigyouralpaca-2195

    Then, still before turning your camera on, pay special attention to your backgrounds and wherever possible, try for as little clutter behind the animals as possible – fences, troughs, gates etc.  Also check to see that any fences or trees that are in the photograph are not growing out of your animals head – or cutting them off across the neck. In this example, the photograph above is taken in harsh sunlight, the background is cluttered and I’ve cut the Mum off across the base of her head – not my finest moment!

    If you have a tree line with the sun going down behind it, well thats basically the money shot as far as animal photography is concerned!

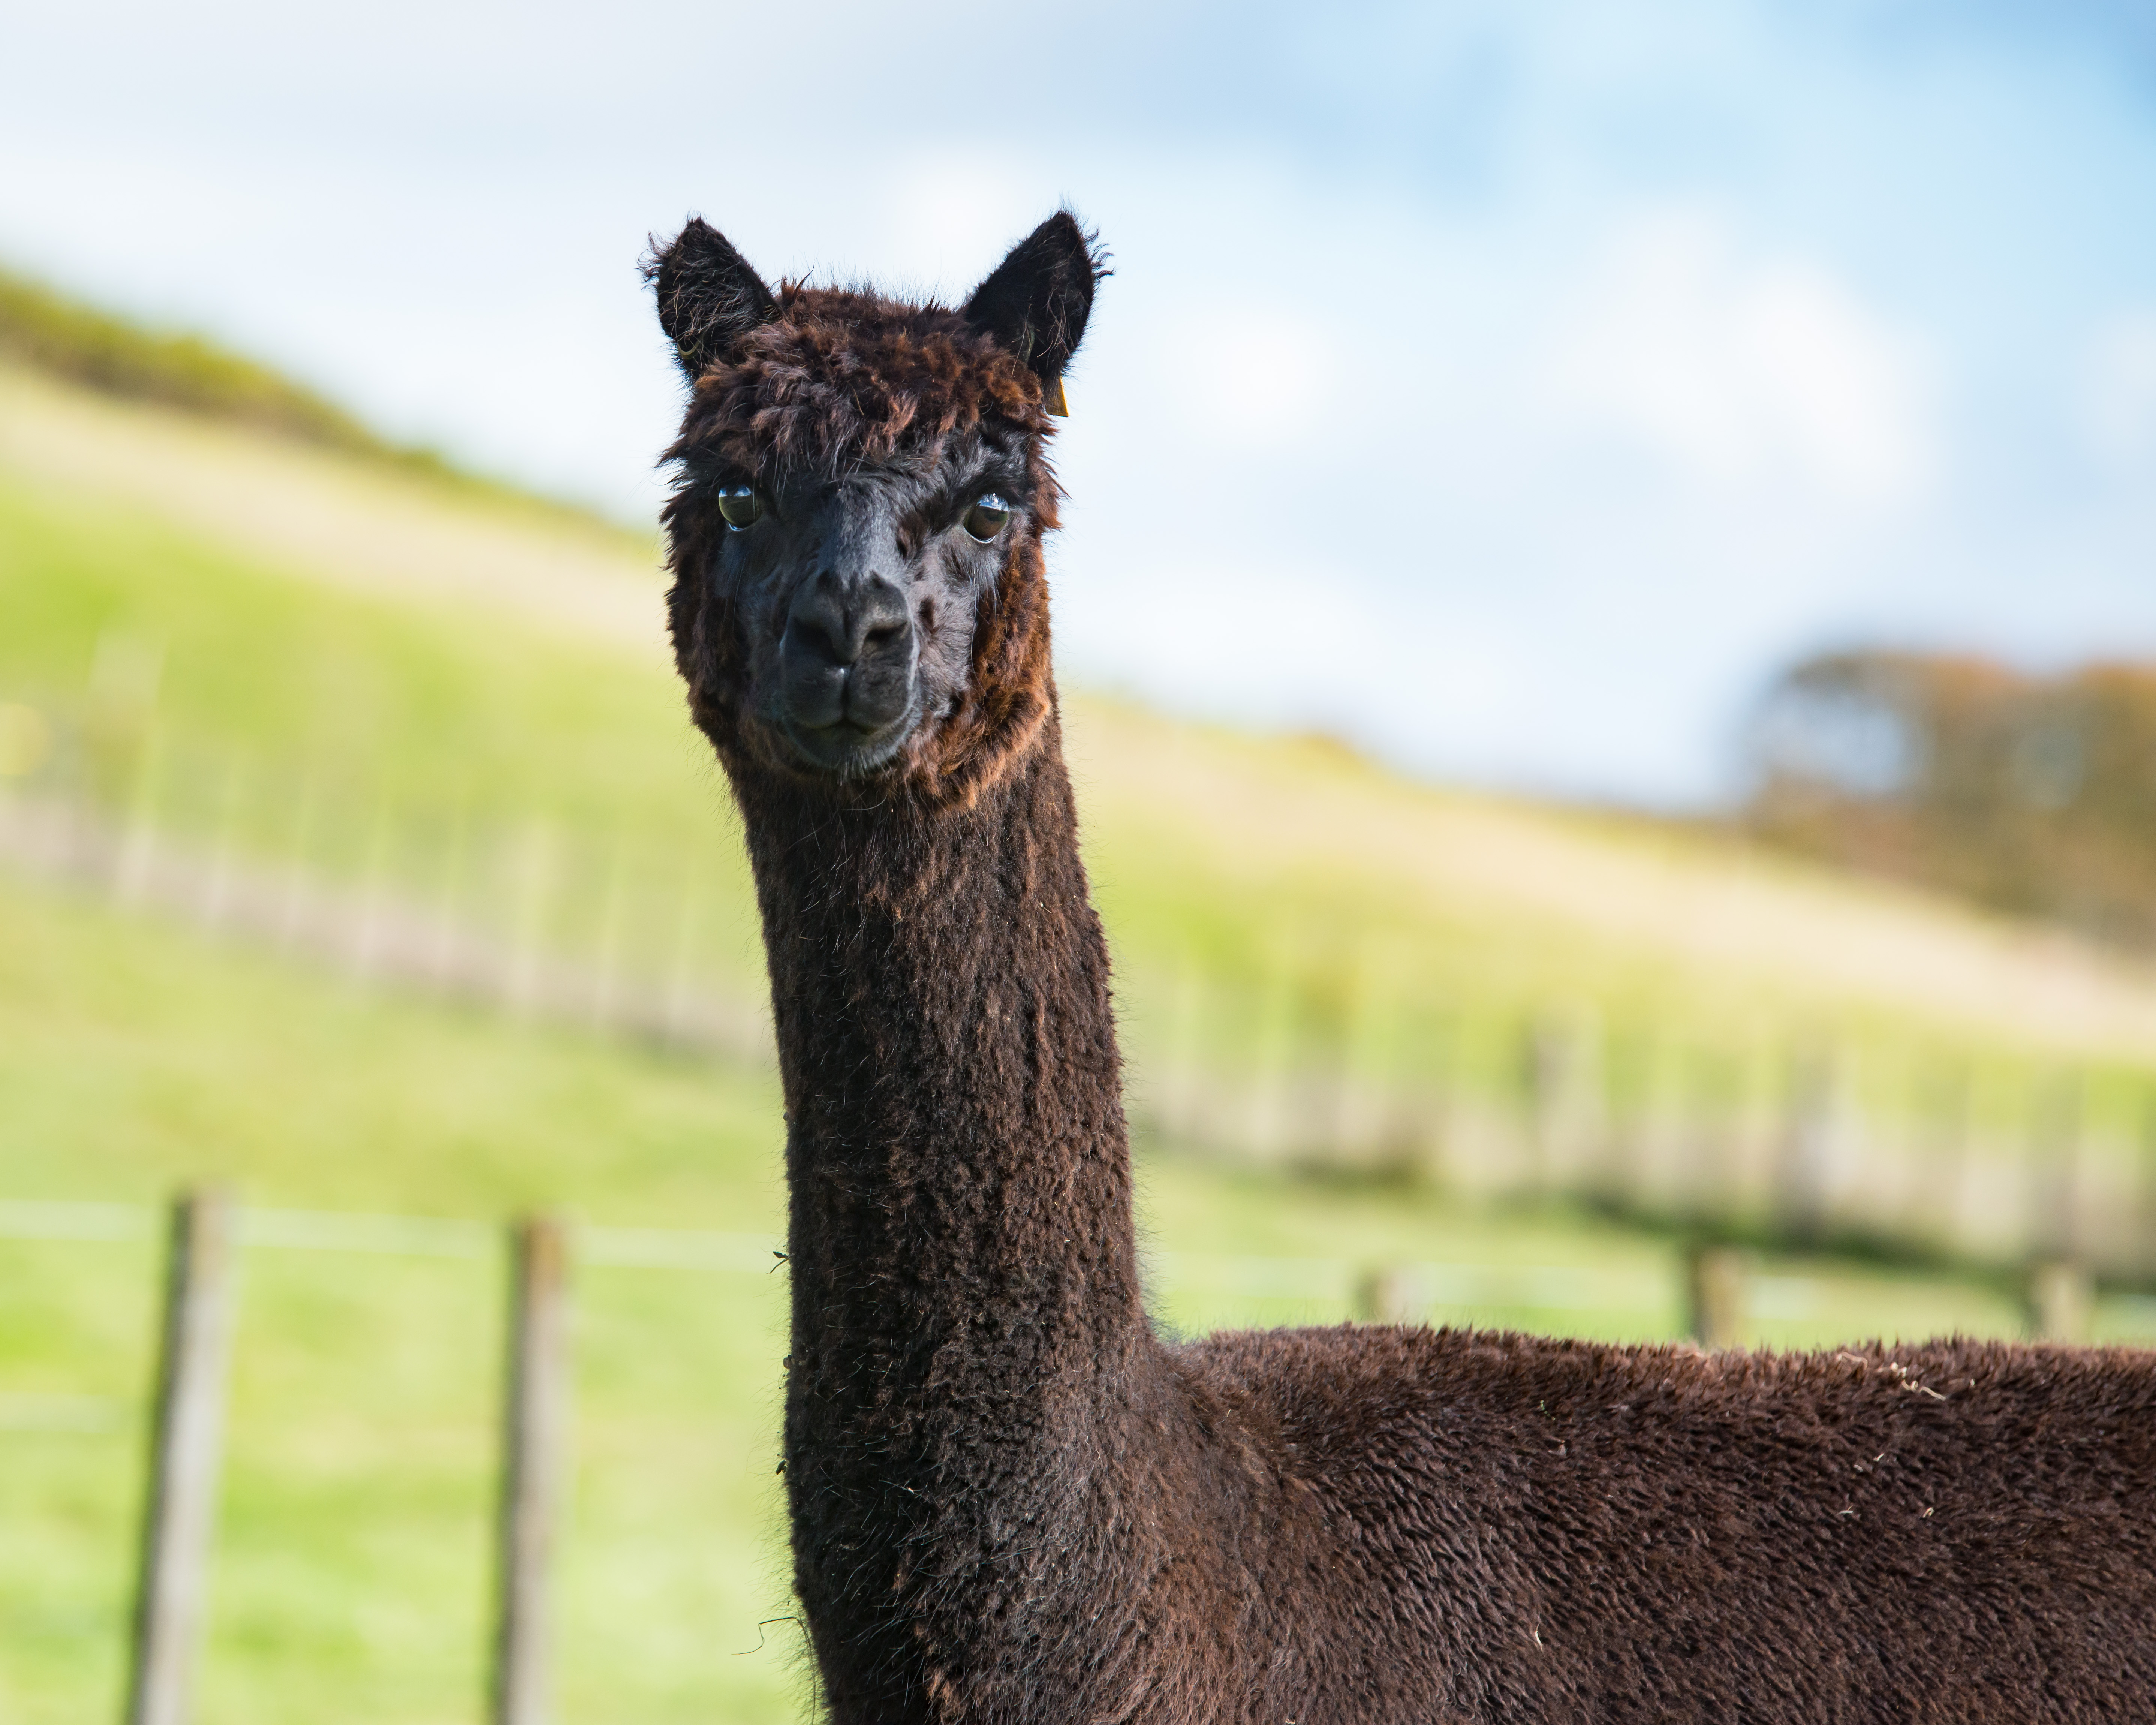
    In animal photography, the same as people portraits, the best photographs come with a connection. Normally we get that through eye contact or when the photograph tells a story. You will notice a little white sparkle in the animals eye in this photograph below – this is called a catchlight and brings life to all of the animals I shoot. I try and find one or two for every image.

    tarasutherland-photographingyouralpaca-2199

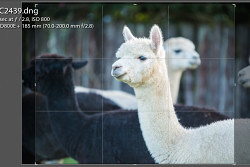
    There is a basic rule of composition called the Rule Of Thirds – it says that the main elements of your photograph should be on one of the three vertical or horizontal lines. This rule is supposed to create a photograph that is pleasing to the eye and for the most part it actually works, however most rules are made to be broken so don’t be afraid to try a square crop with the animal right in the middle! Here is a demonstration image {Rule of Thirds – Screenshot + DSC_2439} where you can see I have cropped to 8×10, on one of the thirds and I have the animal looking out of the photograph.

    tarasutherland-photographigyouralpaca-Rule of Thirds - Screenshot tarasutherland-photographigyouralpaca-2439

    The best time of day to photograph, and this applies to animals and people, is in “Golden Hour”.
    This is an hour before and an hour after sunset when the light is a lovely golden colour and it is at its most even. During Golden Hour, using your DSLR, or if you have manual settings on your compact camera, set your aperture wide (around f/2 or f/2.8) to capture beautiful speckles of light behind your animals – we call this bokeh and it’s just magic!

    Photographing in the middle of the day is the hardest as the light is harsh and the shadows are unforgiving. If the middle of the day is your only option, try and find the shade if possible. If you are photographing fleece in the middle of the day, a piece of net curtain held between the fleece and the sun will help soften the light. I would recommend never using a flash when photographing fleece – and try and hold it very loosely so that people can see the crimp.

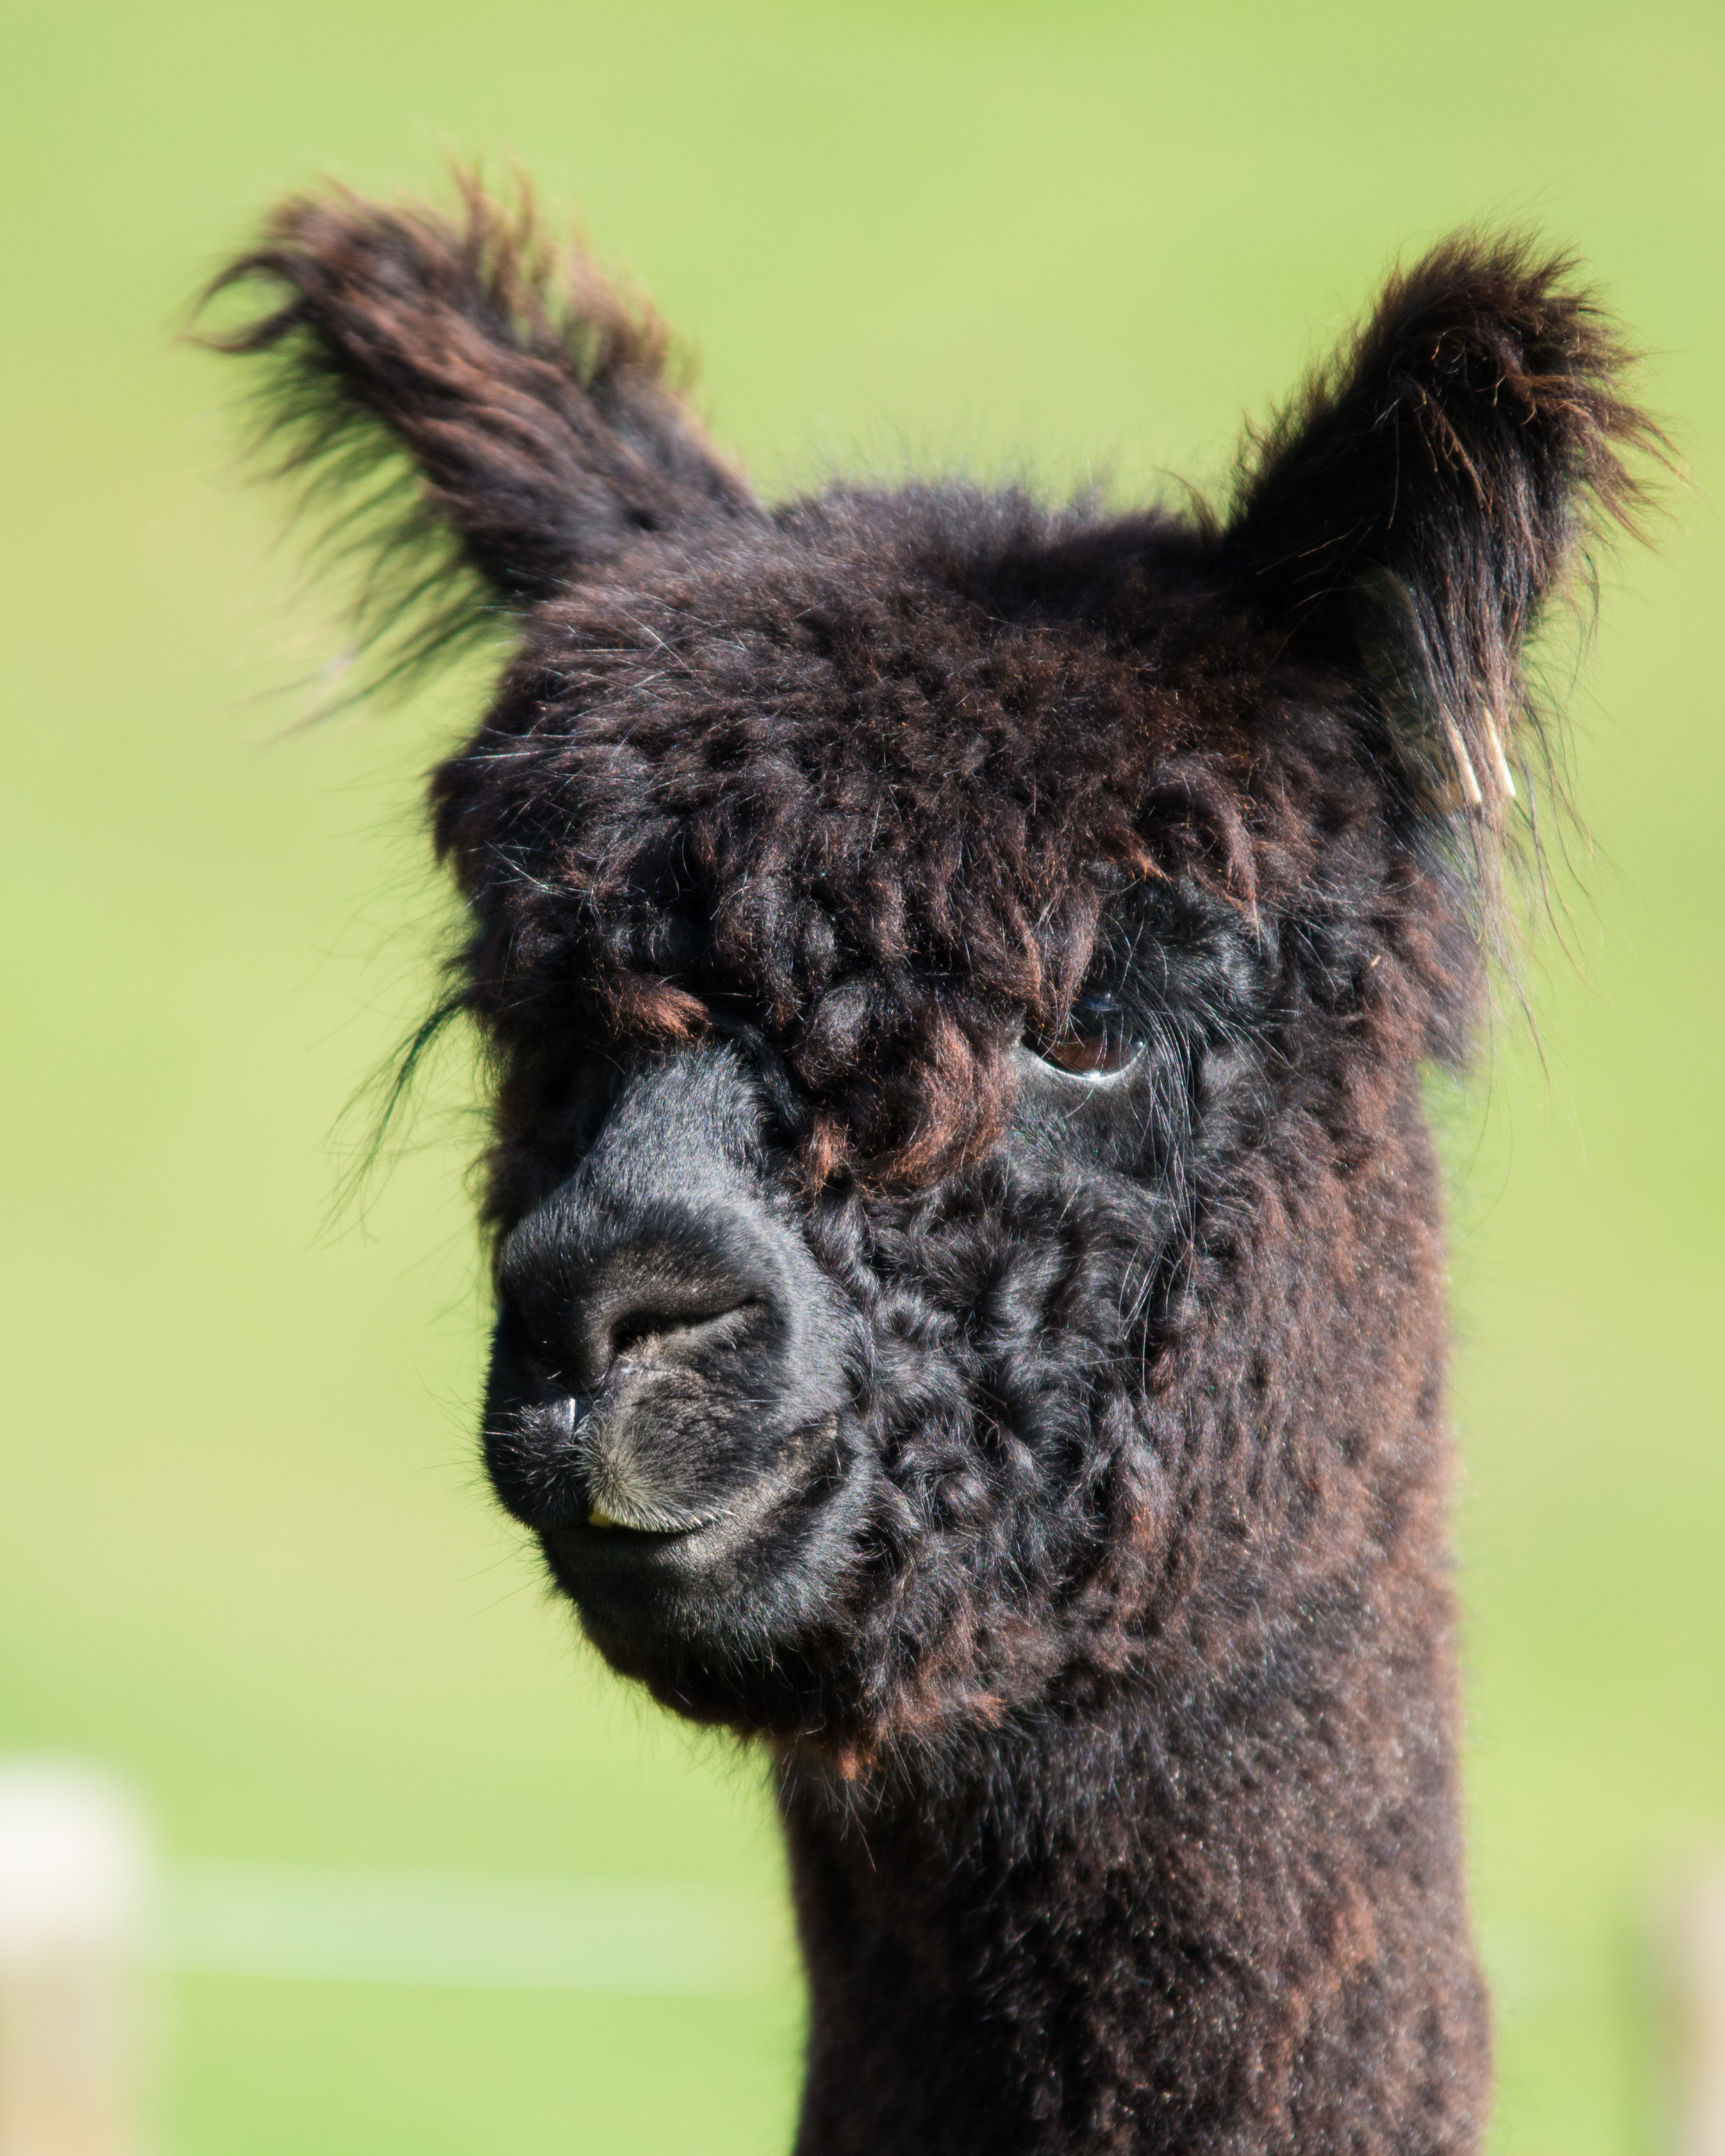
    By far, the hardest of your animals to photograph are the black alpaca, and the Suri even more than the Huacaya. The easiest way to bring out the beautiful details of their face, and eyes, is to photograph them with the sun behind you.

    tarasutherland-photographigyouralpaca-2224

    Before And After

    I’d just like to say a big thank you to Jackee and Jeff at Ataahua Alpacas for allowing me to explore their farm. We were photographing on a bright sunny day so here is a Before And After for how I processed this image. I shoot with a Nikon D800 (fullframe), a 70-200mm lens and I process using Adobe Lightroom. I deliberately made the photograph darker by underexposing it so I could adjust it later.

    tarasutherland-photographigyouralpaca-2390 - Before

    Firstly I crop to an 8×10 (I know this image needs some off the left and 8×10 is a good size for websites and looks good in Facebook timelines). I removed the feed from the blacks mouth, and increased the clarity to highlight the facial features. I increased the lighting in the shadowed parts and warmed it a little.

    tarasutherland-photographigyouralpaca-2390 - After

    tarasutherland-photographigyouralpaca-Before and After Screenshot

    The more time you spend with your animals practicing your photography, the better your images will become. And if its just not working, get in touch with me, I’d be happy to come and help you out.

    Click here to Contact Me